Step 1: Get the prerequisite tools
To run Windows, Mac uses software called Boot Camp. Macs come with Boot Camp pre-installed, which you can find if you go to Finder, then Utilities. Before you get started you should check this website and make sure your software is up to date. Older versions may contain bugs that could complicate things. You will also need to get a hold of a Windows installation disc. This tutorial works for at least the last three versions of Windows, which are Windows 7, Windows 8, and Windows 8.1. You can buy official discs from retail stores like Best Buy, or from online retailers like Newegg. If you have the software, you can also create your own install disc using this tutorial.
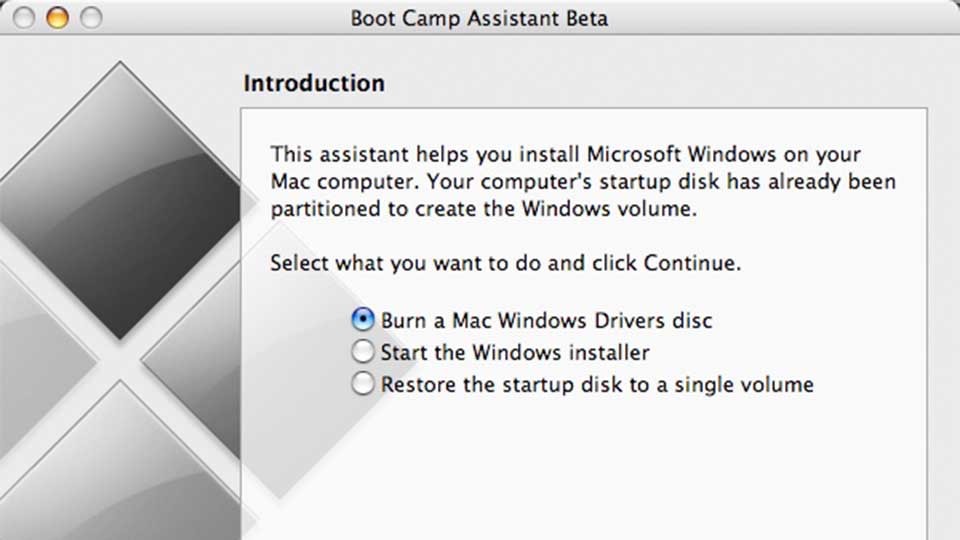
Step 2: Run the Boot Camp Assistant
As I mentioned above, go to Finder, then Utilities, and double click the Boot Camp Assistant. It may ask you for your administrator credentials like your user name and password. Fill those in where appropriate. Then it’s a matter of following some instructions as the Assistant walks you through the early steps of the process. During this process you will likely be asked to Download the Windows support software for this Mac. If prompted, say yes. These are the drivers required for Windows to work properly. Downloading the drivers can take a very long time and be rather frustrating. The good news is the process will automatically put them on a CD, DVD, or flash drive for you so you don’t have to do that manually.
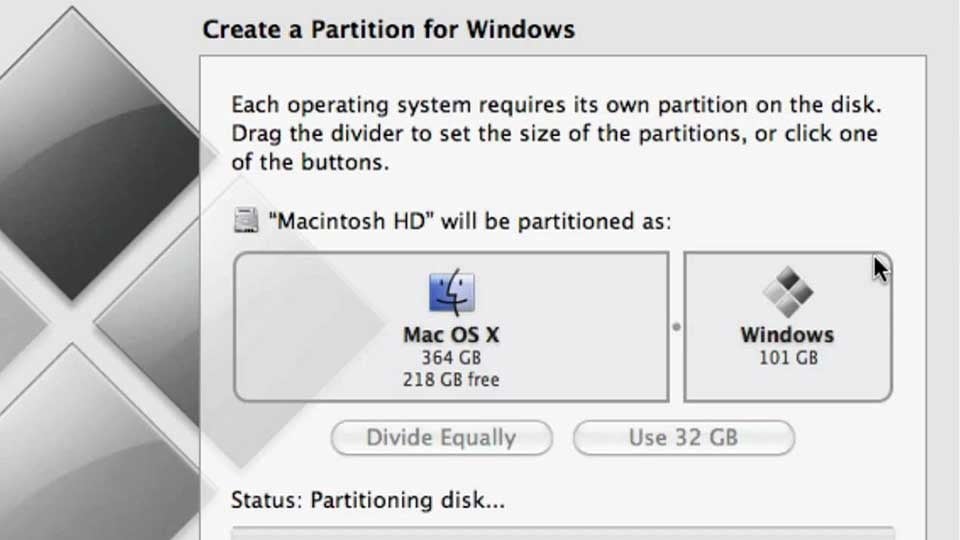
Step 3: Partition your hard drive
There are two things to keep in mind. The space you give to Windows will be subtracted from your OSX partition. So if you have a 500GB hard drive and you give 100GB to Windows, OSX will only have 400GB remaining. It’s also important that you give Windows enough space for the applications you need. It’s better to overestimate and have extra space than underestimate and run out of space because re-partitioning hard drives can be difficult. Once you have selected a size, click the Partition button. It’ll take a little while for your computer to partition, so if it seems like it is taking a while, just be patient.
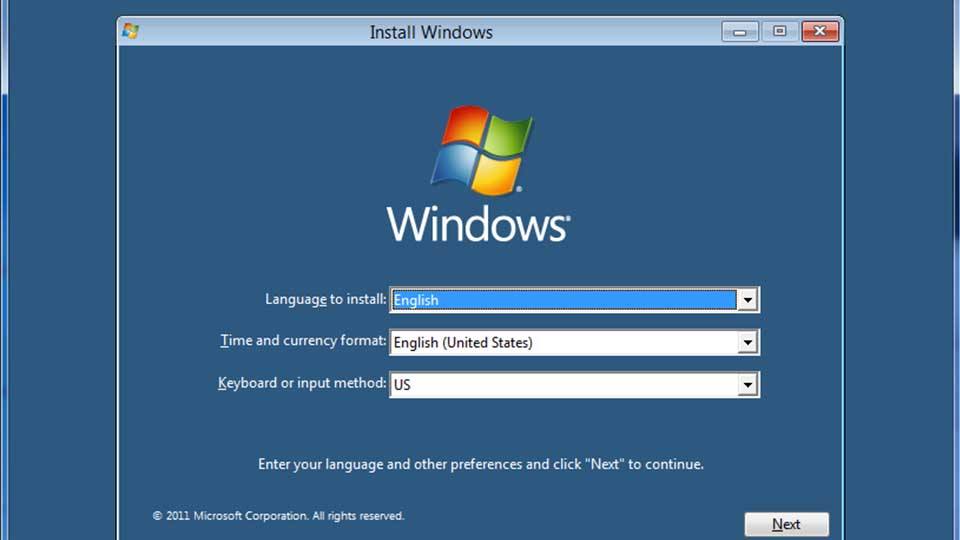
Step 4: Begin the Windows installation
Other than that, just follow the prompts and once you’re finished, Windows will begin to install. If you have any unusual issues, check here for the in-depth steps in installing Windows.
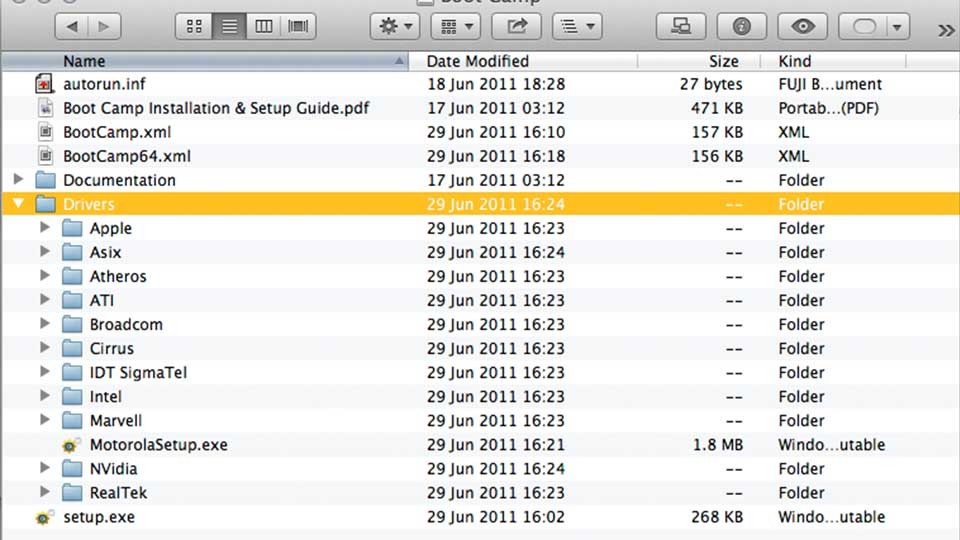
Step 5: Install drivers
Insert the flash drive, open it, open the folder called Boot Camp, and double click the Setup.exe. During the install process you may see various errors and warnings. These are normal. Click to proceed through them. Once done, your drivers should work. A reboot will be required.
Step 6: Clean up and enjoy
Featured photo credit: MacMint via macmint.com